When you’re alpine trekking, you’re likely to encounter some glaciers that you’ll have to cross. This is definitely dangerous and can be very scary, but the risks are manageable and lots of people cross glaciers without incident.
The most important ”rules” when crossing a glacier are to have a team with experience, to be trained for handling the dangers on glaciers, to know how to crevasse rescue, to know how to safely use rope and other glacier equipment and to seriously understand the techniques and team guidelines for glacial traverse.
In this article, I’ll look at the dangers involved in glacier travel and how to cross glaciers safely and effectively.
If you are new to mountaineering and like comprehensive guides such as this one, I’d recommend you to check out the full beginner guide on mountaineering that I have written. It goes over everything from rope technique and climbing equipment to preparation tips. You can find the full guide here.
Contents
Tackling The Dangers of Glacier Traverse
Glaciers are dense masses of ice that formed over centuries. Here, snow from many seasons that never melted, have been compacted together to form this great mass of ice that moved under its own weight.
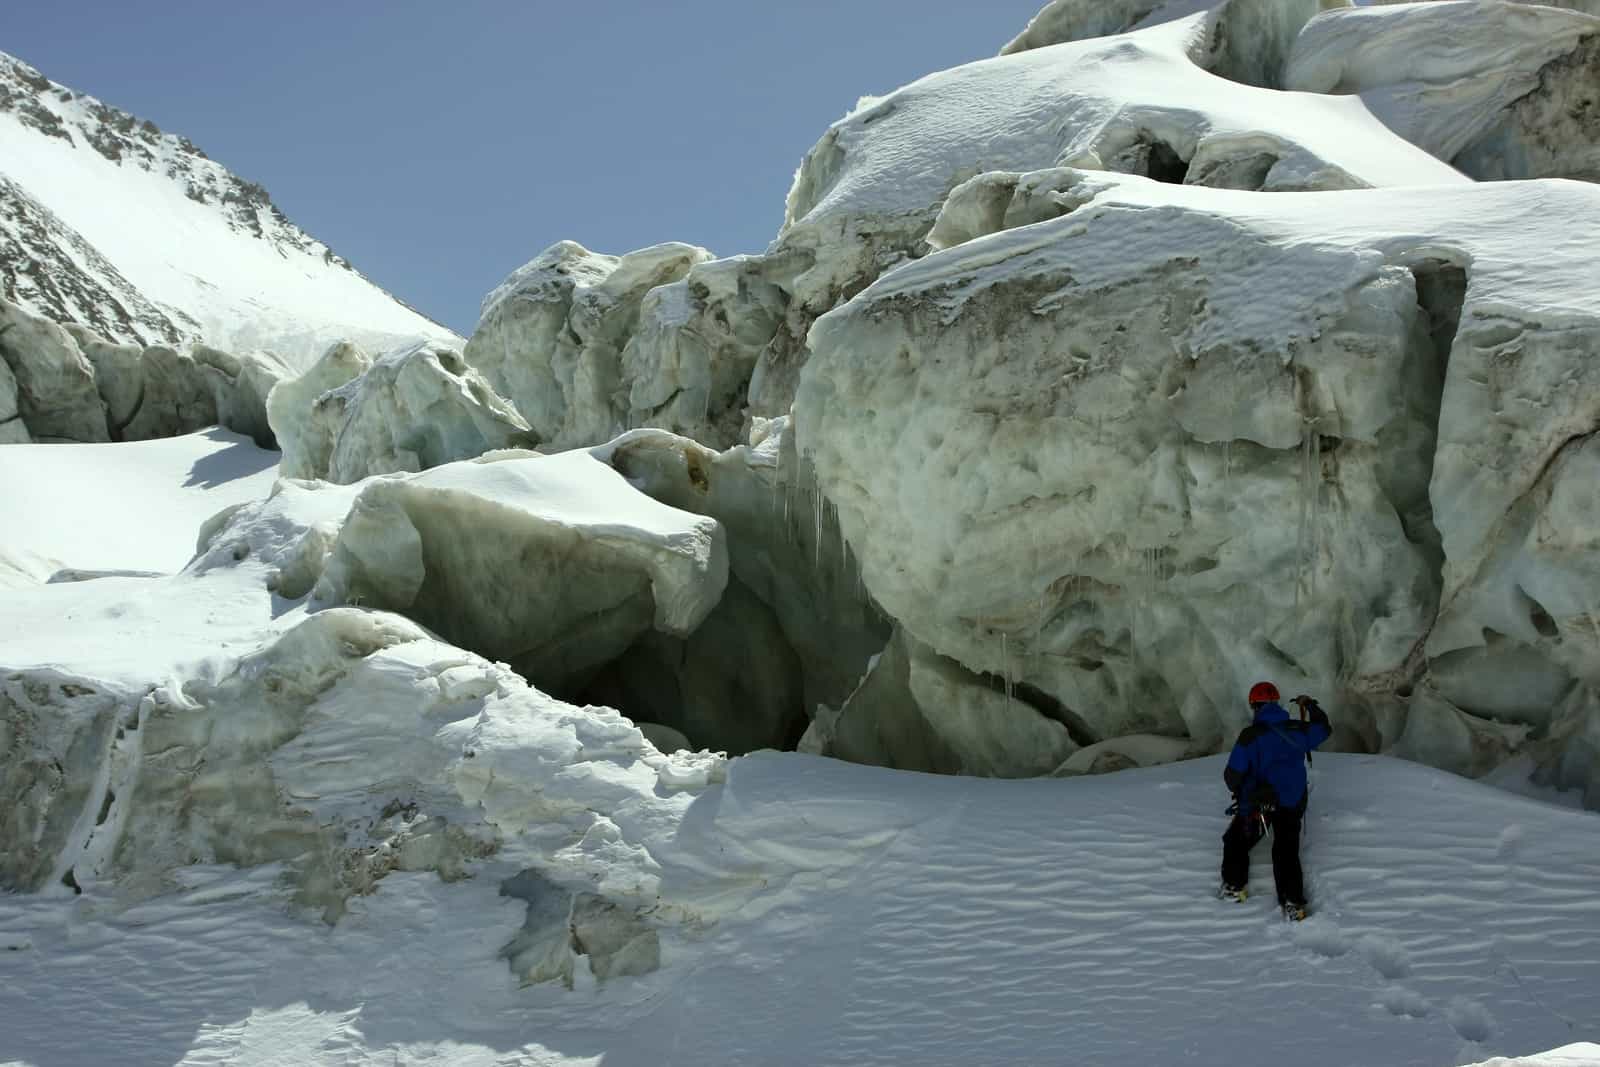
The Main Danger you face on a Glacier: Crevasses
These are deep cracks or fractures in the ice, formed by shear stresses caused by the ice’s movement and weight.
If the glacier you’re crossing is dry, that is, not covered in snow, you can easily see them and avoid or cross as needed.
If the glacier is wet, or covered in snow, you usually can’t see them, which poses a serious danger.
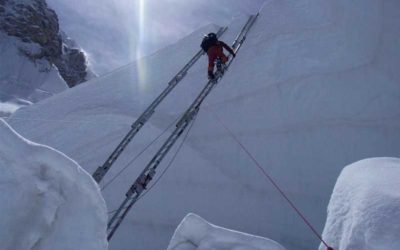
Snow bridges often form across the crevasse. Sometimes people can cross these safely, while they could crumble under the weight at other times. This is weather dependent.
Another hazard: Mill Wells
This is where meltwater forms channels and chutes in the glacial ice. If you fall into one of these, you could get trapped under the glacier, where rescue is very hard or impossible.
Then there are Seracs…
These towering ice structures cause the glacier equivalent of rock slides. As they’re warmed by the sun, large chunks of ice could break off and fall down, obliterating everything in its path.
If you pass one of these, do it as quickly as you can, since it’s a ticking time bomb.
You also get actual rock falls on glaciers, where you’re traveling near a vertical rock face. Boulders could get dislodged due to the sun warming the surrounding ice, causing a rock fall, which you definitely don’t want to encounter. To avoid this, schedule travelling in such areas for early or late in the day, when the sun isn’t as hot.
Lastly, glacial streams could contain silt. This could act like quicksand, so be careful when crossing these.
And Lastly…Moraines In your way
The moraine, or messy debris part of the glacier, can be particularly challenging. Sometimes, this area contains sand and silt along with rocks, which can be very tricky to cross, even before you get to the icy part of the glacier.
The silty part is usually slippery, making going tough. If you’re unfortunate enough to hit the glacier after an ice melt and refreeze, you’ll probably encounter mud as well.
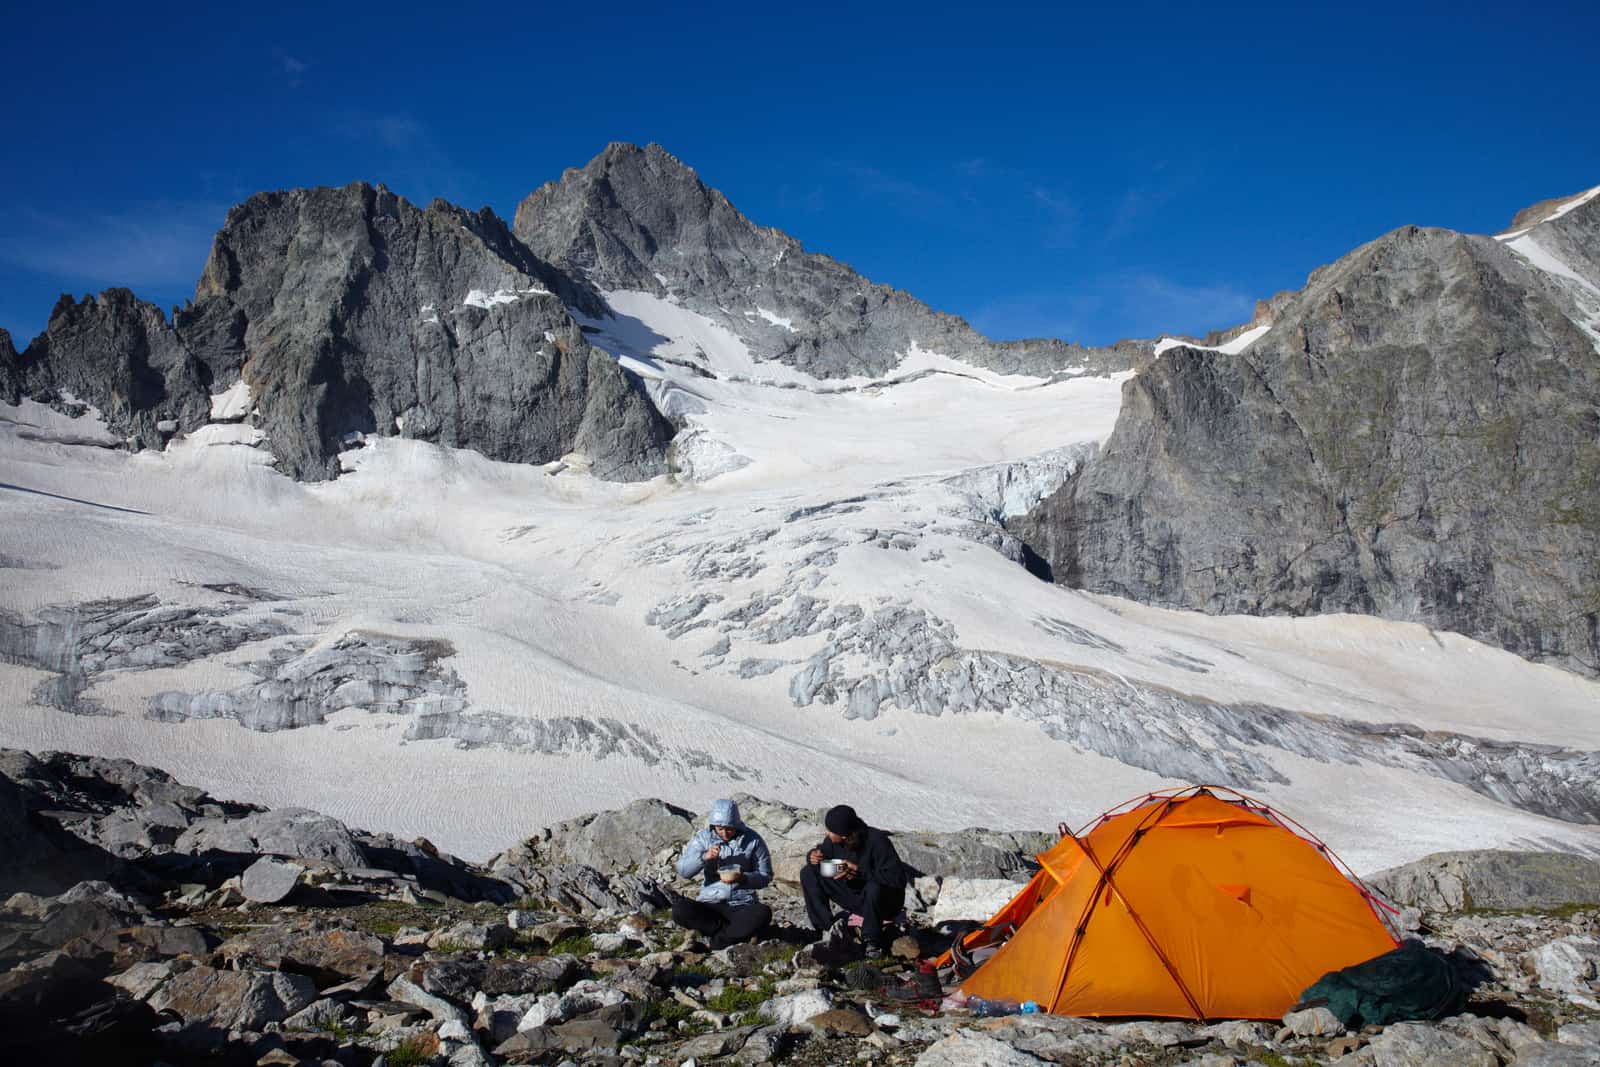
Key Preparation before Crossing Glaciers
Glacier travel is much more complicated than straightforward mountaineering. In order to develop the necessary skills, you need to start small and work your way up, much like with any other new skill set.
- Firstly, you’ll need to learn proper rope work. The key knots would be a great place to start.
- Next, get comfortable on ice and snow. Take a trip on a long snowfield, like the South Spur route on Mount Adams. Here, you can get used to using an ice axe and crampons without the added danger of falling down a crevasse or cracking the ice. If the ice field you’re trekking on is at high altitude, you have the added bonus of getting to know how your body reacts to altitude.
- While out on the snow field, practice skills you’ll need on a glacier, like crevasse rescue. When one of your friends falls down a crevasse, you have to react quickly and correctly, so practicing and drilling this in beforehand is a very good idea.
- Lastly, you need to pick your team carefully. It’s not a good idea to do solo travel on a glacier, since the conditions are extremely dangerous. Your life depends on your team mates, so think carefully when you decide who to go with. Your team should be physically and emotionally compatible. This means your pace and weight should be more or less equal and it would be wise to have experienced climbers in your team. Because of the dangers involved, it’s not a good idea to have a team of newbies.
Gear requirements for Glacial Traverse
When crossing a glacier, you need quite a bit of extra gear, added on to your normal alpine trekking stuff. Here’s a list:
- Ice axe
- Harness
- Screwgate carabiner
- Ice screw
- 120cm sling
- Three prussic loops
- Pulley
- Three spare carabiners
- Dynamic rope (one for the group, minimum diameter 8mm – 30m for two people)
You could use more gear if you feel the need – the above list is only the bare basics. If you’re more than two people travelling together, you will need a longer rope or multiple ropes, depending on the situation.
Techniques for Glacial Traverse
The technique used for roping up will vary slightly depending on the number of people in the group.
First, we’ll focus on two people travelling together, since this is the simplest setup. Take note that it’s recommended that your rope team consists of at least three people.
You usually don’t place protection on the area where the rope is tied, so when a team member falls down a crevasse, the only thing holding him up is another team member.
If the force of the fall exceeds the weight of the other team member, or of the other team member is taken by surprise by the fall, both could end up in the crevasse.
Traversing as a Team
Two people should walk with about 10m of rope between them. To get this right, each person must tie into the opposite ends of the rope.
Next, coil the rope over your shoulders until there’s about 10m of rope left in the middle – if you have more people in your party, you can shorten this length of rope down to 8m.
Each person should take an equal number of coils. Tie the coils off by passing a bit of rope around them. This piece of rope is secured by tying an overhand knot around the rope that leads to the other person. A loop will be left on the rope, which is then clipped into the screwgate carabiner.
Don’t leave too much Rope Slack…Or else
Keep the rope reasonably tight while walking. Here, the middle 5-6 m should glide in the snow. If you leave the rope too slack, you run the risk of stepping on it with sharp crampons, which will damage or sever the rope.
Another risk of leaving too much slack is that you will be tempted to carry the rope in your hand. In the event of a fall down a crevasse, this could lead to serious shoulder injuries.
Also never carry the coils in your hand, especially on a wet glacier. If there is too much slack in the rope, a fall would also be worse, since the person falling would gain some momentum before the fall is slowed by the rope.
This means that the next person might not be able to withstand the force and might be carried away too.
Walk the Straight line
With the same logic in mind, always walk in as straight a line as possible.
If you’re walking in a zigzag line, a fall would pull the other members of the team sideways, which diminishes the odds of them withstanding the force of the fall.
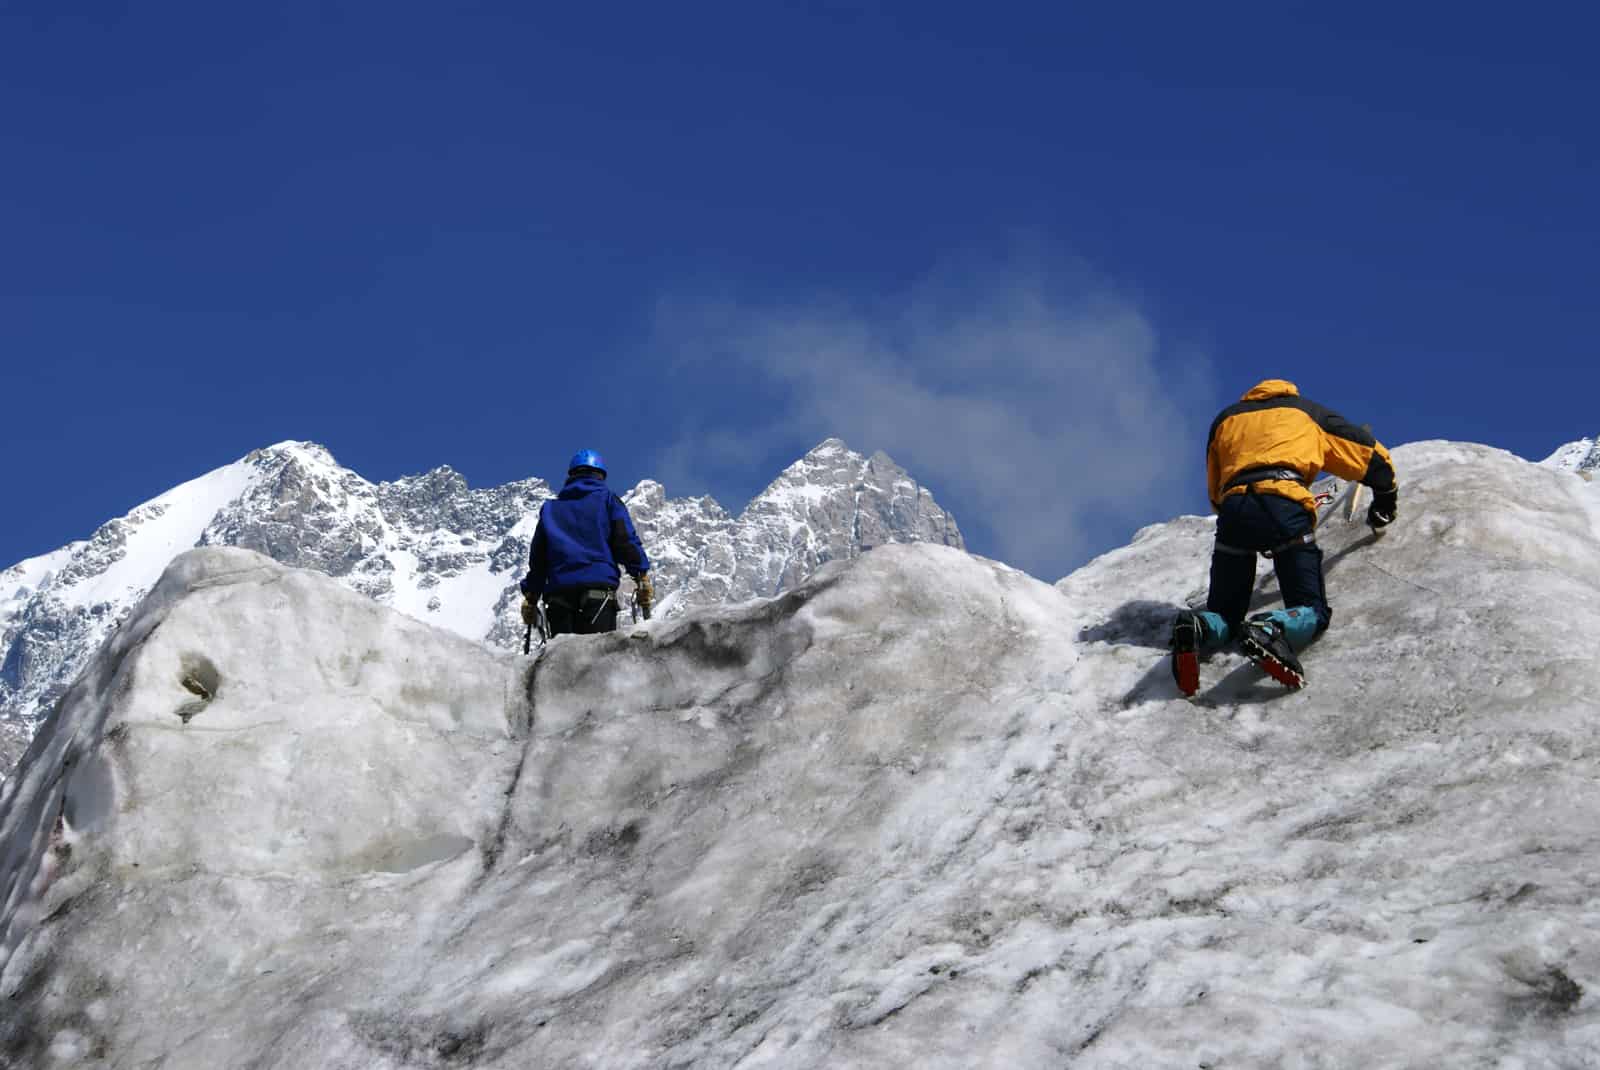
Ice Axes and Walking Sticks
Always leave one hand free to handle your ice axe.
Your ice axe should always be in the uphill hand, carried by the head with the shaft pointing downwards like a walking stick. This will enable you to self-arrest if you slip and fall, which often happens on slippery glaciers.
Important Team Strategies you should know
It’s often a good idea to put the lightest person in front, if that person has adequate experience to pick the route that you’re travelling.
The idea is that the front person is most likely to fall down a crevasse. The lightest person would be easiest to pull back up. It’s not always the first person that breaks the ice bridge over a crevasse, though.
If your group is large, it’s a good idea to split up into multiple rope parties. A rope party shouldn’t consist of more than six or seven people, since such a large rope party would move very slowly.
Always walk perpendicularly to the direction of the crevasses. This minimizes the risk of multiple members of your team falling down a crevasse. Bear in mind that crevasses often extend much further than you can see and that they often change direction along the way.
When Not to Rope-up on a Glacier
There is one instance where it is better to go unroped: if you’re crossing hard-frozen firn with a slight incline, you’re on incredibly slippery ground. Here, if one person slips, the other people have very little chance of withstanding the fall and would probably be pulled along with them.
If one person manages to self-arrest, the others would still be falling and would thus pull them along again.
Crevasse frequency decreases with increased steepness of the terrain, so your odd of slipping would be much higher than your odds of falling down a crevasse in this situation. So, for the safety of the whole team, it’s a better idea to go unroped under these conditions.
Read Up on the Forums
Understanding glaciers, specifically the glacier you’re planning to take on, is important.
Before you head out, take time to read books and check out up to date websites on the glacier you’re tackling. Other climbers have done it before and their experience could end up saving your life. It’s very important to know what to expect and prepare accordingly.
Since glacier travel is so dangerous, it’s better to be over prepared than surprised by bad conditions.
Get In Shape
Glacier climbing is tough, so being in good shape is essential. You might need to be slightly fitter than for general mountaineering.
On a glacier, you’ll face a mixed terrain of rocks, ice and often snow. You need to be proficient in crossing all of these, so practicing the various techniques and preparing your body for this hard work is essential
Glacial Traverse Safety Tips
As mentioned earlier, glacier travel is extremely dangerous. If anyone of your crew falls down a crevasse, they could get seriously injured or die. Crevasse rescue is also a dangerous and sometimes really complicated exercise, so you want to avoid that as far as possible.
When you’re crossing a wet glacier, your team should be roped together, even if visibility is good and there’s a well-defined track.
You should use the rope correctly, since roping up incorrectly or using the rope in the wrong manner could make crevasse incidents so much worse. Always check before you start. It also helps to practice proper rope usage at home, before you even get to the mountain.
Also check the quality of your rope and the rest of your gear. Using a damaged rope is extremely foolish, since it would probably snap if you fall down a crevasse, leaving you stranded and potentially seriously injured or dead.
The Big Safety Debate
This next part is up for debate: when starting your trek, you could attach prussic loops to the rope and tie knots at regular intervals in the middle section of the rope.
Here, the logic is that, during a crevasse fall, the knots will bite into the snow and ice, arresting the fall.
On the flipside, if the snow is too soft, this won’t happen and will hinder the rescue operation. The jury is still out on this maneuver.
Communicating on the Ice
Communication is key. Everyone in the party should be vigilant at all times. If you see anything important, like a crevasse, you should communicate that to the rest of your team. You should adjust your route and gear accordingly.
Also agree on a system of communication before you start, since you don’t want any confusion while on the trail.a
Preferably everyone on the team should be trained enough to let repetition take over if something happens. Communicating in rescue situations can be frantic and you don’t want to be fully dependent on it.
If you’re new to glacier travel, get a guide who can give you proper instructions and teach you the right way to do things. Another option is going with an experienced mountaineer who could show you the ropes. It’s not wise to undertake glacier travel on your own or in a group of novices.
Glaciers change over the course of the day, since they’re impacted by the sun. Here, the strength of the ice will change with time and you need to understand this if you’re going to go safely. This is another reason to get a guide or attend an ice climbing course before you get started.
Always remember: keep a level head. Glacier travel is dangerous and things often go wrong. Freaking out won’t help, so stay calm and think logically before you do anything rash.
Conclusion
Glacier climbing is extremely dangerous, but also incredibly rewarding. If you do decide to take on glacier climbing, make sure that you’re properly prepared.
Don’t make the mistake thinking that glacial traverse is too similar to mountaineering to read-up on it. It may be similar in many circumstances, but the situations that are different are ones where it actually matters, such as crevasse rescue.
Knowing how to work proficiently with a rope is crucial when traversing on glaciers. Also make sure to get the additional gear pieces that aren’t required in traditional mountaineering.
Check your gear, get professional help in training and mastering the skills needed to keep you alive and out of harm’s way. Now that you know the basics, all I can say is, happy adventures!

Written by Felix
About me
Hi! I’m Felix. When I’m not spending time out in the mountains, I like to write about my hobbies. That is how Mountain Homies was created. On this site, I try to gather all the juicy information about Mountaineering that I have learned since I started. Happy adventures!
Related Articles

3 Ways to Spot and Reveal a Crevasse (And Avoid It)
So, how do you spot a crevasse and – more importantly – avoid falling into one? In this article, I will have a look at what crevasses are and how to detect them…
3 Clever Ways of Crossing A Crevasse
When you’re mountaineering in snow country, you will undoubtedly encounter some crevasses. These are scary, since you don’t always spot them…
Mountain Climbing vs Rock Climbing: 5 Biggest Differences
The key differences between rock climbing and mountain climbing are the gear requirements, environmental risk, geographical locations, weather and…
Stay Up to Date With The Latest News & Updates
Join Our Newsletter
The owner of this site is a participant in the Amazon Services LLC Associates Program, an affiliate advertising program designed to provide a means for sites to earn advertising fees by advertising and linking to amazon.com.