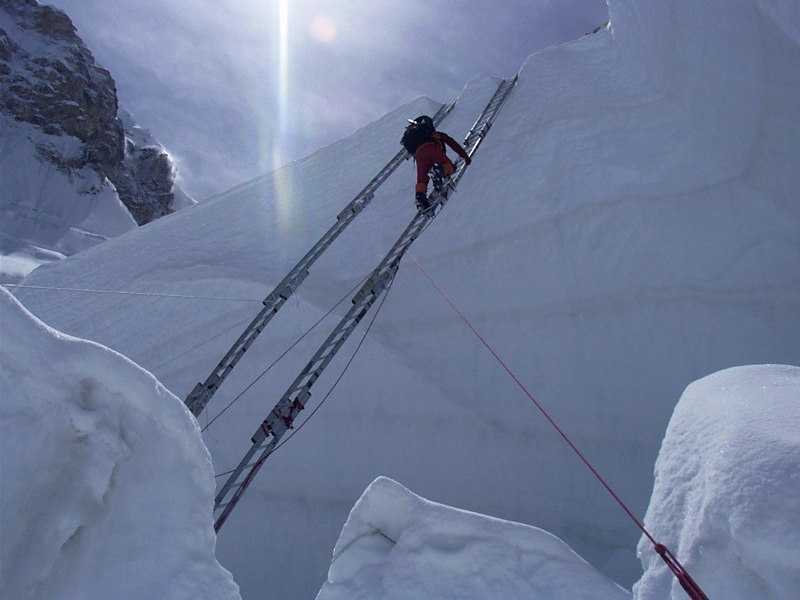
The last cleft in the Khumbu Icefall before the Western Cwm, Mt Everest. Photo from Olaf Rieck
When you’re mountaineering in snow country, you will undoubtedly encounter some crevasses. These are scary, since you don’t always spot them and because you never really know how big they are.
In this article, I will take a look at how you can safely cross a crevasse.
1. Ladder Crossing
This method of crevasse crossing is not all that common since it involves carrying a ladder up a mountain before actually using it to cross a crevasse.
These ladder are usually made in aluminium and are fixed on both sides of the crevasse.
You do see it on commercial routes, though, such as at the Khumbu Ice Falls on Mount Everest.
Here, you need a ladder (or two or three), ice screws, handlines and the normal protective gear (harness, carabiner or ascender and a helmet).
Crevasses differ in width, so sometimes, a single ladder will suffice to bridge it, while you will need to lash a couple of ladders together for longer crossings.
When you get to the crevasse, place the ladder (or combination of ladders) over the chasm.
Anchor these to your team or an inanimate object beforehand to ensure that you don’t lose them if they fall into the crevasse.
Use ice screws to anchor the ladder to the nearest side of the crevasse.
Now comes the tricky part: someone has to go first. That person takes the most risk and should preferably be someone with experience in crevasse crossing.
Always make sure that your team is properly roped up – a fall here could be fatal.
Side note on how to use the ladder: slow and steady is key. Don’t hurry, jump or bounce.
Walk slowly, steadily and with confidence, since this would minimize sway and bounce in the ladder.
Sway and bounce can dislodge the ladder or compromise the balance of the person on the ladder, both of which could lead to a fatal fall.
Now, the person going first must take more ice screws with them and be pretty sure of their balance.
Once they’ve walked across the ladder, they must fix the other side of the ladder to the ice with ice screws.
Here, you have the option of setting up hand lines, also with ice screws, to help whoever crosses next, to maintain their balance.
You could forego the hand lines and just use the ropes connecting you to your team for balance, although this could be more dangerous.
Now, the rest of the team crosses the ladder, one at a time, following the same mantra as before: slow and steady.
How to fix the ladder on the other side of the crevasse
The basic technique is to use ropes to lower the bridge from the side of the crevasse that you are currently on. Imagine how a medieval castle drawbridge would work.
When the bridge is placed, someone walks across the ladder while belayed to fix the bridge at the other end.
Tips for ladder crossing
A note on how to actually walk on the ladder: there are two techniques – the one you choose might depend on your foot size more than your personal preference.
The first is to place your feet such that the front spikes of your crampons grip the rung in front of you, while the back spikes grip the rung behind your foot.
This is nice and secure and minimizes slipping. You would have to pick your feet up vertically, though, since rolling your foot will get your crampons stuck in the ladder.
If your feet are too small for the previous option, placing the middle of your foot on a rung is your best option. This is potentially a bit more slippery.
Some people choose to crawl over the ladder on hands and knees. The jury is still out on whether this is an acceptable technique, although staring down the abyss below your feet is scary as heck and crawling might make them feel safer.
2. Ice Bridge
This one is risky, since ice bridges can collapse with no warning – they’re often far less stable than they seem, especially when the weather gets warmer or they get direct sunlight.
Here, you may need to cross the ice bridge a total of three times, depending on whether or not you can afford to leave your rope there. That is, if you’re going solo. If you’re in a team, everyone only crosses once.
When you get to the ice bridge, secure an anchor into the snow with ice screws.
Make sure that this is properly secured, since your life may depend on it.
Now, the first person walks across the ice bridge while being belayed by someone else. They set up an anchor on the other side in the same way as the first one.
Secure a rope between these two anchors. This will serve as a secondary safety line for whoever crosses the bridge.
One by one, the entire team crosses the ice bridge while being belayed by the other team members and secured to the second rope.
If you can’t afford to leave the rope there, the last person to cross the bridge must undo the first anchor and take the rope with them.
If you’re planning on coming back along the same route, it’s a good idea to leave the rope and anchors there, since it would save time on the way back.
This is especially useful if something goes wrong, necessitating a hasty retreat.
3. Walk Around the Crevasse
This one is not technically a crevasse crossing technique, but it is sometimes a safer option than crossing the abyss.
Hiking around a crevasse field definitely takes longer than just crossing the chasms, but it does avoid several dangers: falling into a crevasse because you didn’t spot it in time, falling down a crevasse because you fell off a ladder and falling down a crevasse because an ice bridge gave way.
Here, you also don’t have to lug a ladder with you, which is always a win.
You would have to weigh up the merits on the specific route you choose and decide for yourself.
Conclusion
Crevasse crossing is dangerous and scary, but not impossible.
The method you choose would depend on your specific trek: how much time you have, your level of experience and the popularity of the route.
Fixed ladders are usually permanent installations on busy routes.
Most mountaineers never actually personally install one.
Carrying a ladder up a mountain is also a mission most people prefer to avoid.
Ice bridge crossing is extremely dangerous, but can be done if you’ve got an experienced team.
Walking around is often the safest, but would extend your trek by quite a bit, so time constraints often play a role here.
Now that you know how to cross a crevasse, all I can say is, happy adventures!

Written by Felix
About me
Hi! I’m Felix. When I’m not spending time out in the mountains, I like to write about my hobbies. That is how Mountain Homies was created. On this site, I try to gather all the juicy information about Mountaineering that I have learned since I started. Happy adventures!
Related Articles

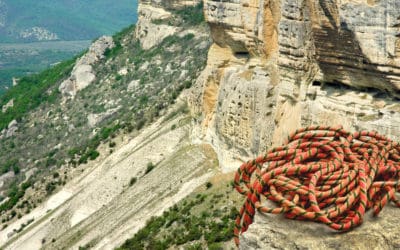
3 Ways to Spot and Reveal a Crevasse (And Avoid It)
So, how do you spot a crevasse and – more importantly – avoid falling into one? In this article, I will have a look at what crevasses are and how to detect them…
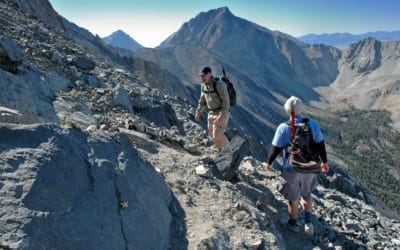
Mountain Climbing vs Rock Climbing: 5 Biggest Differences
The key differences between rock climbing and mountain climbing are the gear requirements, environmental risk, geographical locations, weather and…
Hiking in Mountaineering Boots: Is It Really a Good Idea?
In short, hiking Boots are specifically made for walking, mountaineering boots are multi-purpose. Hiking can be done in most mountaineering boots, but for long hikes…