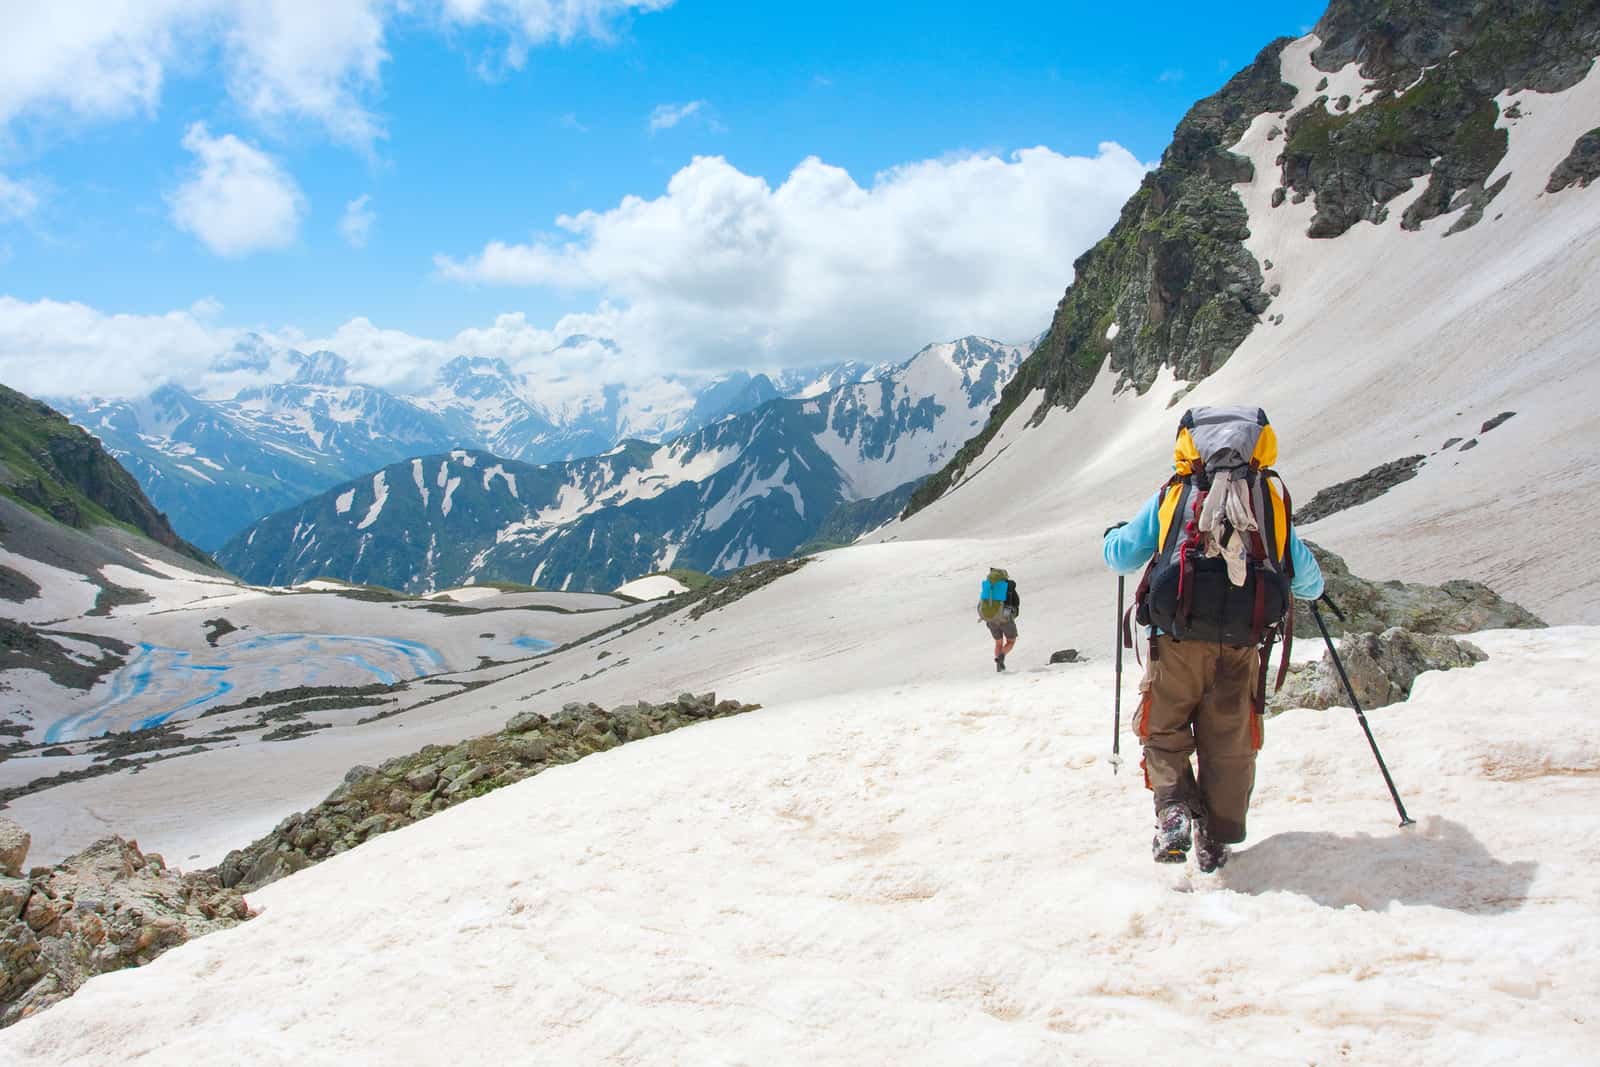
I still remember the first big mountain I climbed. I am born and raised in Sweden, so we always had a close relationship with nature, and the mountains were always in the horizon.
Mountaineering is all about preparation. From reading this until standing on the foot of that rock, may seem like a big leap. However, if you come fully prepared, after having made a checklist of the guidelines outlined here, I believe that you have will have all that it takes to take that important first step up the hill.
It is important to recognize what your goals are with mountaineering. Comparing climbing glaciers with hiking the Swedish hills in the summer is like comparing rocks and stones. My first mountaineering goal was to climb Kebnekaise (2106 m), the highest mountain in Sweden. The purpose of this post is basically to help anyone trying to climb a big mountain with zero experience.
Contents
The first rule of Mountaineering is:
You can actually talk about it. Movie references aside, the first thing you need to learn about Mountaineering is what mountains are, how they got there, and how they behave. You need to understand the terrain, so that you can better assess your risk of exposure, plan routes, and avoid hazards, especially in glacier travel. In most high altitude environments, the landscape has been shaped by glaciers, many of those glaciers are still there, and annually claim lives.
After that, the next most important thing to learn is mountain safety. Basically you should learn how to use a first aid kit and how to rescue somebody and/or yourself from various emergency situations.
The third most important thing is to understand that it’s wrong to think you’d never need those skills or it’s more important to learn how to avoid situations that cause them. But let’s get to the complete list of skills that you should preferably accumulate as you become a mountaineer.
Where to get started, though? This guide is an overview of the skills you need to learn and master in order to be a successful mountaineer.
Checklist of Skills for Beginner Mountaineers
First and foremost is Wilderness First Aid. There are official courses taught by the American Red Cross, and the Boy Scouts. The scouts offer the courses to non-scouters, all are welcome.
Next on the list of skills to have, in no particular order:
-
Orienteering and map reading
-
Plant identification
-
Water treatment
-
Hygiene (waste handling, cleanliness, disinfecting eating utensils)
-
Weathering the weather
-
Food prep (cooking, storage, finding)
-
Hunting, fishing, and trapping
-
Shelter building for all seasons and climates
-
Hiking (footwear, techniques, exercises)
-
Fire building
-
Managing pests (bears, snakes, skunks, insects, etc)
-
Emergency prep (first aid, getting lost, self-administered first aid)
-
Knots, harness, belay and rescue.
Next, I will go into detail about each topic.
Orienteering and map reading
Learn traditional map-reading and navigational skills. Move beyond attempting to navigate the way most people do these days, by peering at the screen of a cell phone. Get in the habit of printing out a paper topo map for any new route you’re doing, and build competence at relating the topo map to the landscape you see around you, without depending on GPS (which is limiting and unreliable).
Build experience with cross-country travel, so that you’re not freaked out by going off trail or losing a trail.
Plant identification
Knowing which plants to avoid or use is key to mountain survival. Before you head out, make sure that you have a basic knowledge of the plants in that specific area. Which are poisonous, edible and medicinal? Those are the most important factors when you’re in the field.
If possible, take a small guide or field manual with you. I know, this is something extra to lug around in your heavy backpack, but it’s not that big and it could save you a lot of trouble later on.
When identifying a plant, look carefully at the specimen in front of you. Observe the shape, size, color and texture. Use these to compare it to the plants listed in your guide. It helps to know some botany basics, like the difference between perennial and annual plants and some other features, like flowers, leaves, roots, seeds and fruit.
If you’re in an area with data reception (in the mountains, this is highly unlikely), you could always use a plant identification app.
Water treatment
You can’t possibly carry enough water with you for an entire mountaineering expedition. For this reason, it’s critical that you know how to purify water and where to find reliable, relatively clean water sources.
Some think that, since the water comes from high up in the mountains, it must be clean and pure. Just remember, there are animals that walk through these streams and do their business there. Water creatures live in the stream. It also contains mud, which is definitely not good for you.
There are a couple of ways to purify water while in the mountains. We won’t go into detail here, but I will give you the basics:
- Boiling. This is the most basic way that will kill all bacteria and other baddies in the water. A basic rule of thumb is to boil the water for 1 minute at lower altitudes and 3 minutes at higher altitudes. Unfortunately, you will use your precious cooking fuel for this and will have to wait for the water to cool down before you drink. If you have silty water, the silt will settle during cooking, eliminating to risk of drinking mud.
- Water purification tablet. These are lightweight and easy to use. In order for them to be effective, you have to wait anything between 30 minutes and 4 hours for the Chlorine Dioxide tablets to kill all harmful bacteria in your water, depending on the area you’re trekking in. This also does nothing for mud and other dirt in your water.
- Ultraviolet light water purifier. This battery-powered light neutralizes common bacteria found in water using UV rays. Simply stir it in your Nalgene water bottle for 90 seconds. You will need a prefilter, since it’s not that effective in murky water. You will also need spare batteries.
- Sip or squeeze water filters. This is lightweight personal water purification suitable for day hikes when you’re not worried about viruses. Many options are available on the market, ranging from straws to filters attached to squeeze bottles. Equipped with a 0.2 micron filter, this type of filter eliminates most bacteria.
- Pump water filters. This is similar to the sip or squeeze filters, except that they are bigger. With these, you can quickly filter enough water for a small group of people. Some pump water filters are able to eliminate bacteria as well as viruses, since these have iodine resin in the filter. Note that this in potentially a very expensive purchase and could require some maintenance.
- Gravity filters. These are ideal when you have a large group and you set up camp for the night. Able to filter the same stuff as a sip or squeeze filter, you simply hang it from a tree and wait for gravity to do its work. Larger models can filter up to four liters of water in less than five minutes.
Hygiene
How you handle hygiene will depend on the length of your trip and the terrain that you cover. If you’re doing dry, rocky terrain, you won’t care for your feet in the same way that you would in a rain forest, for example. In this section, I will handle only the essentials.
- Waste handling. Don’t leave a footprint. If you bring anything with you that isn’t biodegradable, bring a sealable plastic bag to put it in and take with you back to civilization. If you need to do your business, dig a hole for it far away from water sources. Your toilet paper or baby wipes go in your sealable bag. The same goes for disposable feminine products
- Staying clean is essential. While hiking, you tend to chafe and sweat, causing all sorts of health issues in the long run if you’re not staying clean. In short, clean your teeth, armpits, feet and nether regions regularly. Use hand sanitizer for your hands and biodegradable soap for the rest. You can either wash in the river or use a microfiber towel or bandana with a bit of water for the rest. Make sure you dry yourself properly with a microfiber towel. Change clothes when you settle down for the night. Sleeping in clean clothes will make you feel better and air out your dirty stuff. If needed, use biodegradable soap to wash your dirty clothes in a plastic bag.
- Disinfecting eating utensils. Keeping your eating utensils clean will prevent you picking up some nasty bug in the middle of nowhere. A lightweight option is to pick some leaves off a tree (don’t to ground-level, since these are more likely to be dirty). Stick these in your dirty pot of mug with a bit of water. Use a spoon to stir them around, letting the leaves scrub off all the debris in your pot. If needed, add some biodegradable soap. If you used unfiltered water to wash your utensils, be sure to boil them properly before using them again in order to kill any bacteria. You can use the same principle for cutlery.
Weathering the Weather
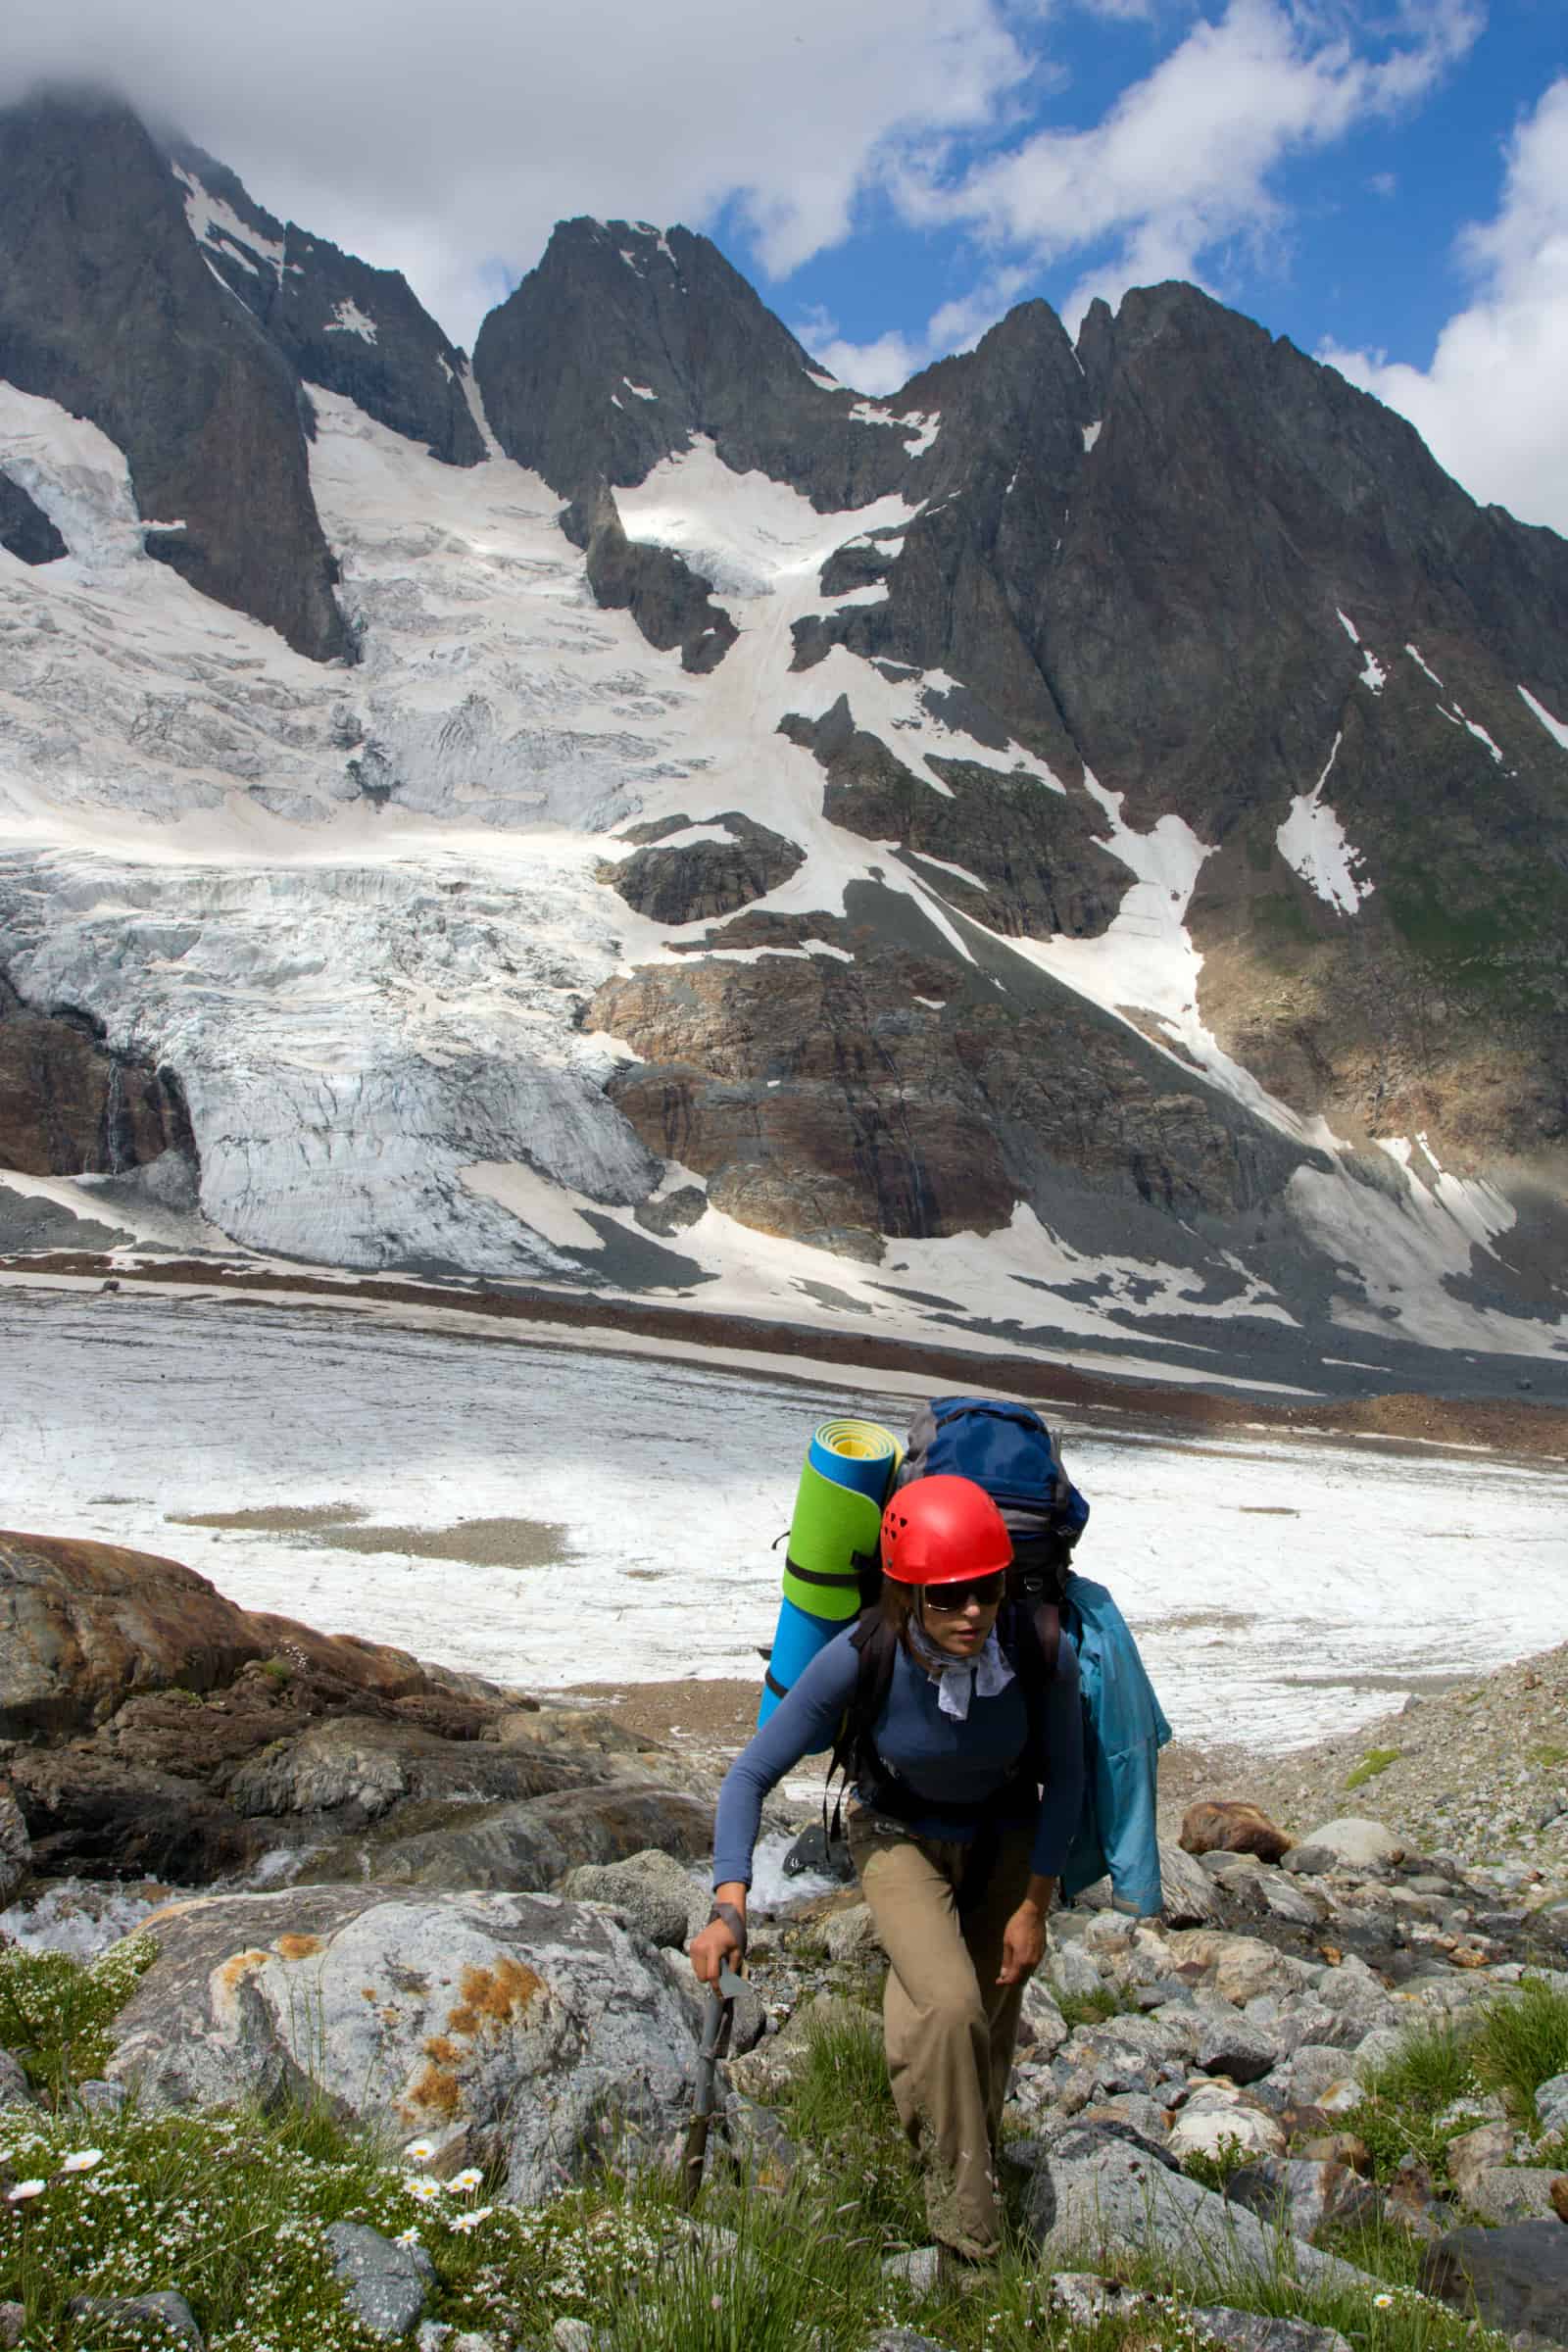
Getting stuck on a mountain during bad weather (thunderstorms, blizzards, etc.) is not a good idea. It can range from highly uncomfortable to extremely dangerous, even life-threatening. Before heading out on an expedition, however long or short, be sure to check the weather forecast on a reliable app or website. If there’s a heatwave or storm forecast, rather delay the hike, since both of these can be incredibly dangerous.
The weather changes incredibly quickly in the mountains. If you see signs of a storm approaching, like the skies darkening quickly, clouds rolling in, or a sudden drop in temperature, find shelter immediately. Be sure that this isn’t in an area that’s likely to flood or suffer from a rockfall.
Always pack thermal blankets. Mountains can grow extremely cold, even in the height of summer.
Food prep (cooking, storage, finding)
Carrying enough food for your trip can be a headache. So is not having enough food when you’re in the middle of nowhere. The key here is a balance between lightweight and high nutritional value, such as nuts, chocolate bars or jerky. You also can’t take food that requires refrigeration, since you won’t have that option in the mountains.
Always ensure that your food is properly cooked. Undercooked food, especially meat or fish, could make you seriously ill. Also remember that food takes longer to cook at high altitudes, so you will need more fuel and it will steal from your precious sleep time. Take foods that are quick to prepare.
Finding food in the mountains can be tricky. If you’re planning on using edible plants, be sure to have your plant identification guide handy. Only eat something if you’re sure that you know what it is.
Hunting, fishing, and trapping
Hunting for your own food is allowed in some parks, while illegal in other. Before deciding to undertake this, find out what the rules are for the area you’re trekking in.
This is also a time-consuming and energy-intensive exercise, so it might not necessarily be worth your while, depending on the type and length of your expedition. If you do decide to go this route, make sure that you have the correct equipment, including proper knives to skin whatever you catch.
Shelter building for all seasons and climates
- The easiest shelter is always a tent. If the wind gets rough, pitch your tent behind a mound of snow or a boulder and make sure that it’s properly anchored.
- Here, you either sleep under the stars or in a crack between rocks or snow (depending on the weather). You would pitch a bivouac sack or bivvy bag over your sleeping bag to ward off rain or a bit of the cold. This is not great of extremely cold weather.
- Snow cave. In colder climates, you’d be able to dig a snow cave. This would only be done in an emergency since it uses up a lot of your much-needed calories. These are generally warmer than tents and require some elbow grease and a shovel. Before you dig a snow cave, ensure that the snow is solidly packed, otherwise, this might cave in on you. There are three common types of snow shelters:
- Sitting shelter. As the name suggests, this one has only space to sit in. Dug into a steep slope, it’s thermally insulating and will keep you safe until help arrives.
- Shovel-up. If you’re in a group, you’d place a bunch of hiking bags together, cover them with a bivvy bag and shovel on some snow. Then, you’d tunnel into it and hollow everything out nicely.
- Snow grave. On a wind plane with no other option for shelter, you’d dig something similar to a grave, covering it with manageable slabs of snow. Your body contact with the snow will be considerable, so use gear to minimize this as far as possible.
Hiking
Preparing your feet for a mountaineering expedition is essential. Blisters, sprained ankles and busted knees can really put a damper on your amazing adventure.
Footwear
The footwear you choose will depend on the terrain and weather. If it’s dry and rocky, you’d need a robust shoe that won’t get cut easily. If you’re doing a winter trek in the snow, you need thermally insulated shoes that are easy to use with crampons. On some expeditions, you are also likely to do some rock climbing, so you would need the right type of climbing shoes to help you along.
Be sure to understand your shoes and their limitations and break them in properly before you enter the mountains. They have to be comfortable for you.
Techniques
Hiking technique is essential when wanting to cover a lot of ground per session.
In general, it’s good to keep your pace steady for increased endurance. Added to this, you want to minimize muscle strain. For this reason, adjust your pack regularly, alternating the weight between your shoulders and hips. Also adjust your gait – stride length, on your toes or on your heels – to vary the tension in your muscles. Take regular breaks and use them to do some stretches.
Your technique will vary according to the terrain you’re hiking – uphill, downhill, cross country or sand duces. We won’t go into detail here.
Exercises
Preparing for a hike is essential. Your muscles must get used to the weight and strain that they are likely to encounter during your trek in order to last for the entire trip.
Some common exercises to use, include goblet squats, step-ups, downhill lunges, hanging knee raises, kettlebell deadlifts, stairmasters and stretching.
Fire building
Building a fire on the mountain should be done with the utmost care for safety, since it could easily spread and run out of control.
Once you’ve found a safe spot to build your fire, get some dry scrapings of tree bark, thin twigs for kindling and larger branches that will keep your fire going. Stack your fire and light it up. If you don’t have matches or a lighter, there are techniques for starting a fire using a flint or other natural materials. It’s a good idea to know how to do this, just in case you get stuck somewhere in cold weather without matches.
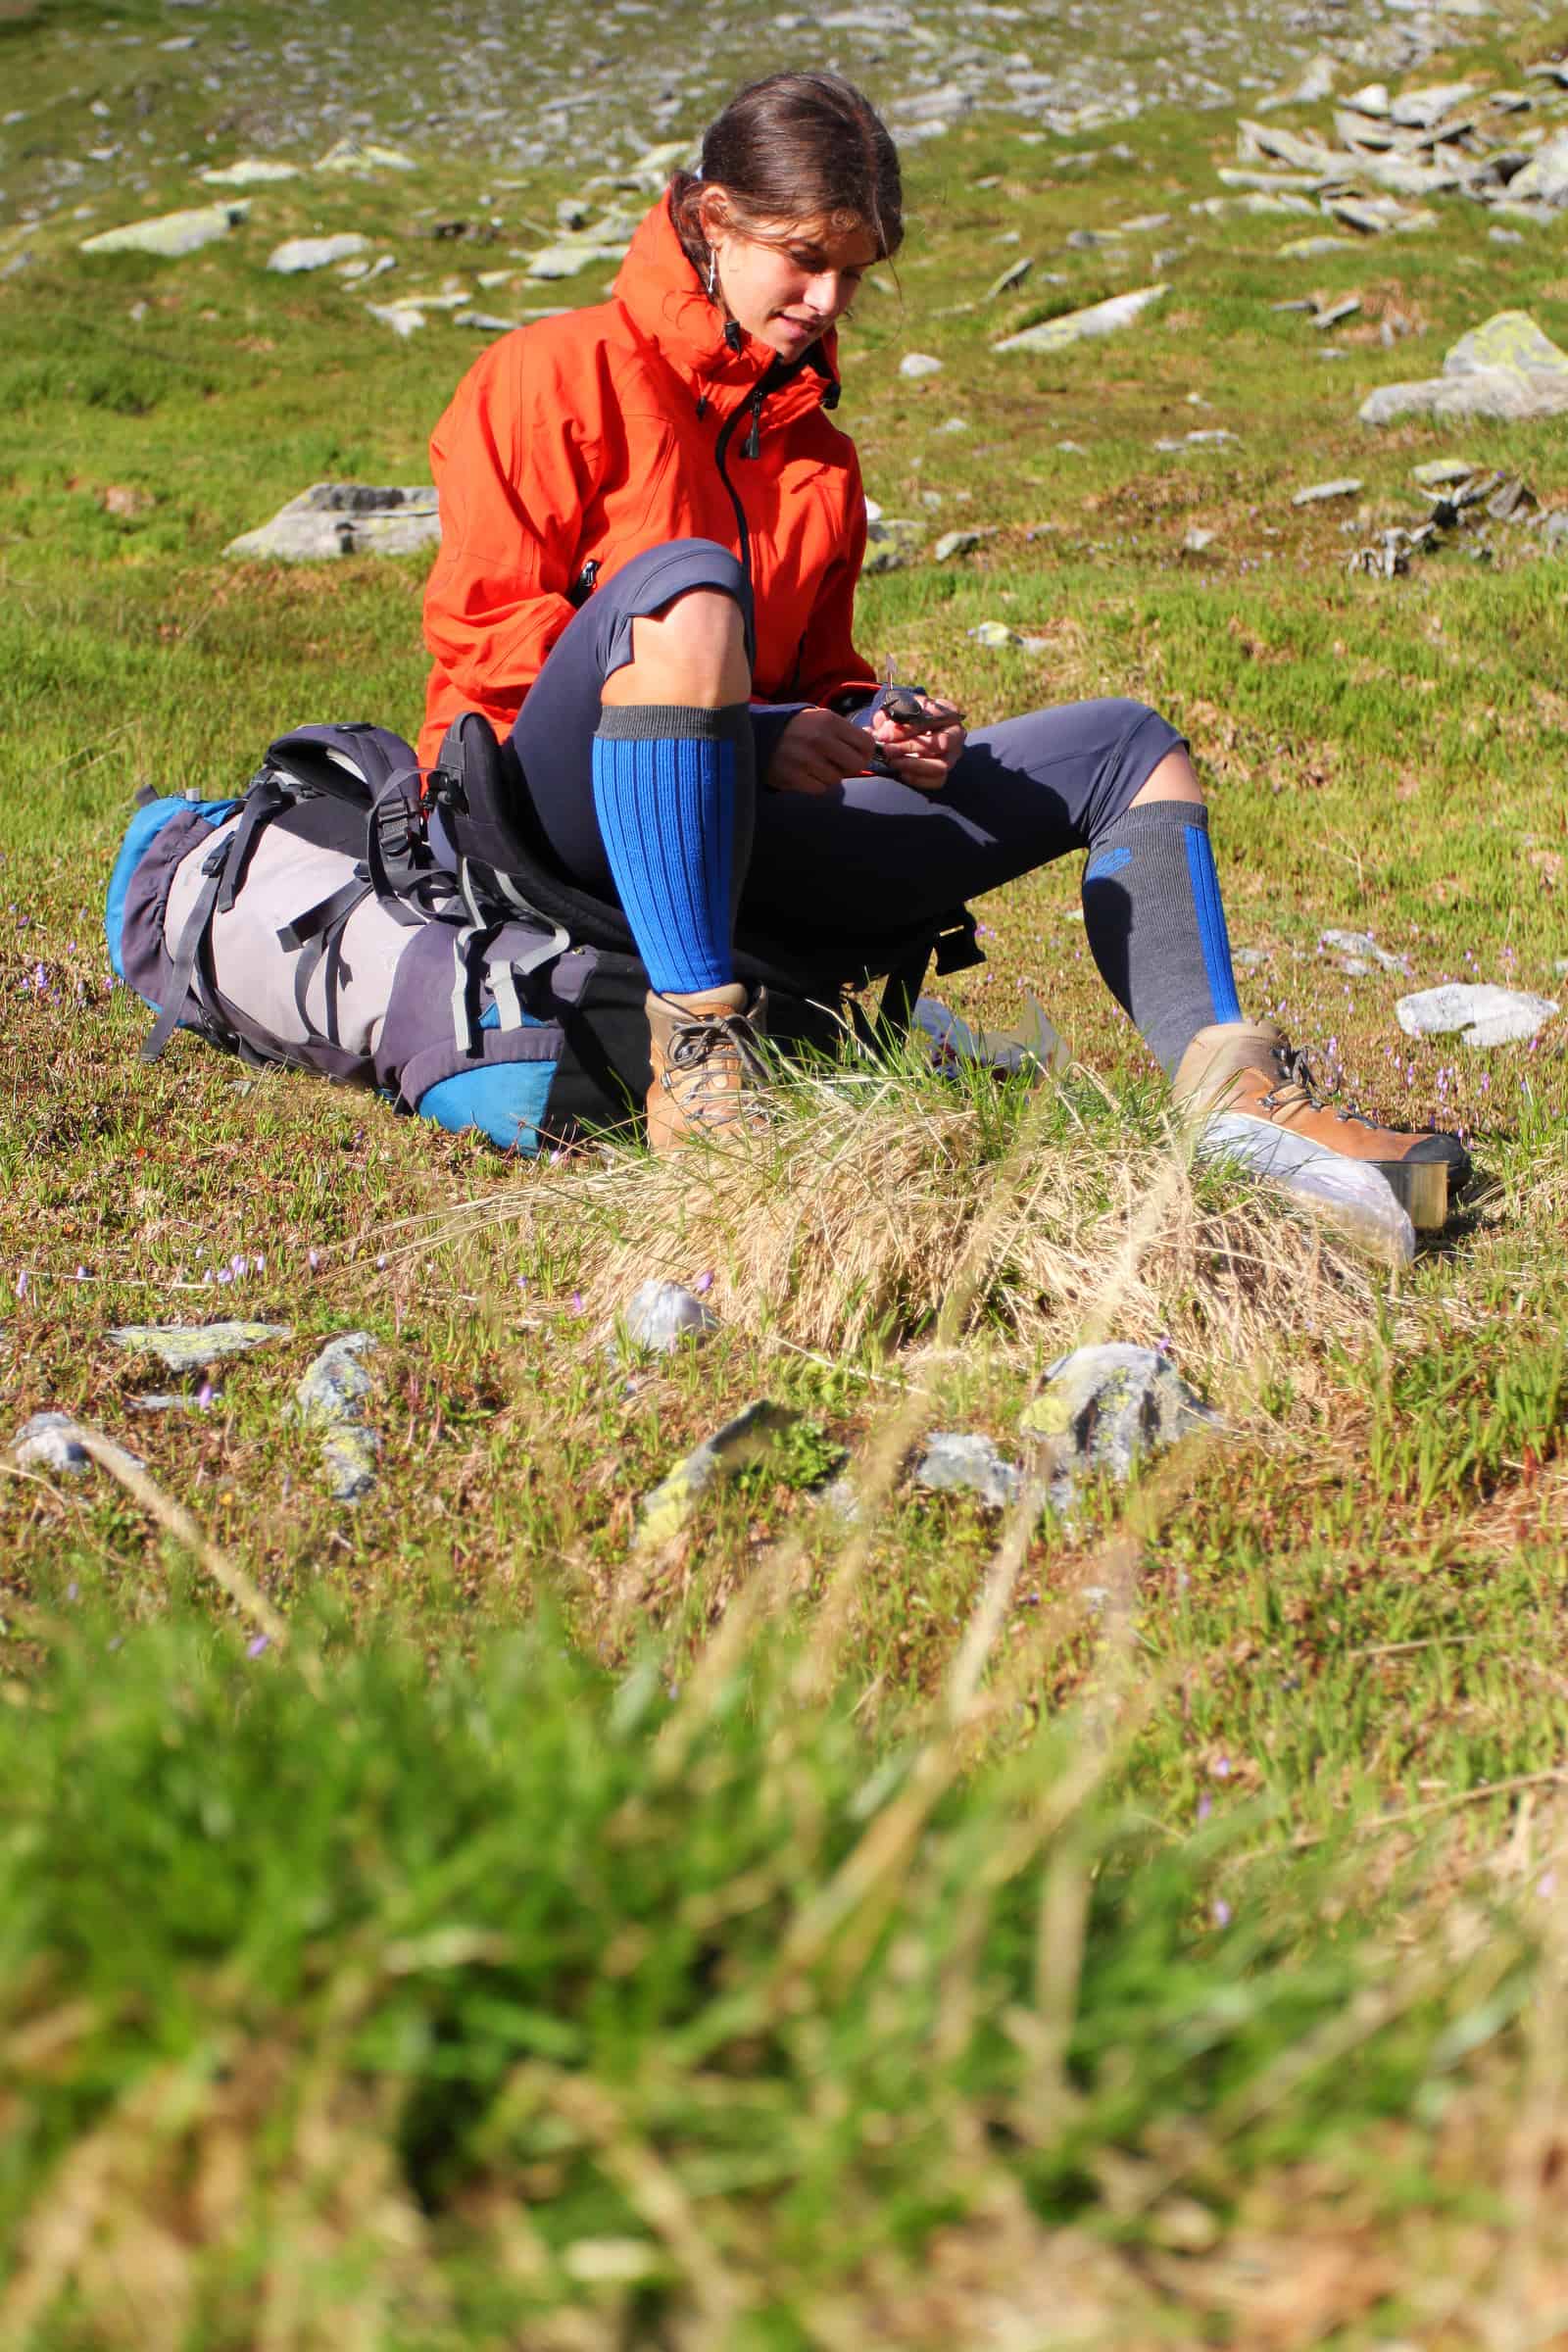
Managing pests
Pests are rife in the mountains and they range from the small and mundane, like mosquitos, to downright big and scary, like bears.
Warding off insects starts simple: don’t wear deodorant, since this attracts them. Also, use insect repellant.
Snakes are endothermic, so they will look for warmer spots to heat up. Unfortunately, this is usually in the trail or on rocky ledges where you are likely to step. Before stepping into tall grass or crossing a ledge that you can’t clearly see, check for signs of snakes. Snakes are usually more afraid of people than we are of them, so they will flee. If you see one coiling up or making noise, it’s a sign that it feels threatened. Rather back away and give it space to flee.
Skunks are easy to recognize and generally wander around in the open. These are not dangerous animals, but it’s highly unpleasant to be sprayed by them. When you do encounter one, try to stay out of the way. If you can’t get out of the way, try to convince it to leave by stomping your feet or talking in a low voice. Don’t aggravate it, since it might just spray you.
Bears are usually frightened of people and try to avoid them whenever possible. If a bear feels threatened, it might attack, depending on the type of bear. The best way to avoid bears is by making noise. Don’t travel silently or alone in bear country and make sure to pay attention to your surroundings.
If you do encounter a bear, your actions would depend on the type of bear. Some are aggressive, while others are not. It’s a good idea to know beforehand which types of bears you are likely to encounter, how to identify them and to have some bear repellent or pepper spray at hand.
Emergency prep (first aid, getting lost, self-administered first aid)
Accidents happen. It’s best to be prepared for them. First aid needed in the mountains would vary from minor cuts and bruises to life-threatening, catastrophic accidents. Pack a first aid kit for the former and call a search-and-rescue team for the latter. Ensure that at least one member of your team is trained in first aid in order to act as first responder in case a serious accident occurs.
Getting lost in the mountains is also a common thing. Don’t just rely on your GPS – also pack a compass and map of the area that you’ve studied beforehand.
Safety
Mountaineering is a dangerous, yet extremely rewarding sport. In order to enjoy it safely, every mountaineer should know the basics of knots, harnesses, belaying and rescuing.
Your rope is literally your lifeline. Knowing which knot to tie where will extend your rope’s lifespan, help you reach further without losing any gear, ensure that you can easily untie the knot when you need to and help you get there safely.
A harness is what keeps you connected to your rope or anchor. It’s important to use the correct harness for each undertaking and to make sure that it fits correctly. A harness that’s too small or too big could cause you to fall out of the harness. The danger speaks for itself.
In belaying, communication is key. The climber or rappeler should trust the belayer and their channel of communication should be interrupted. Technique is also important here, since proper safety procedure should be followed at all times.
Before starting a mountaineering expedition, alert the search-and-rescue teams in that specific area that you are entering the mountain. Communicate the route that you plan to follow and when you are likely to return. Once you’ve returned, let them know, so that they won’t search for your unnecessarily.
Conclusion
Mountaineering is an incredible undertaking. Yes, it is tough beyond words at times and you will probably be tested and proven beyond the point you though possible. Yet, it is all worth it. The thrill and beauty of the outdoors has an undeniable pull and you will keep coming back for more.
I would put avalanche safety and a wilderness first responder course as my top priorities. They teach you how to not get into trouble and how to help others if you do. Just being able to spot an avalanche field is critical, and knowing the signs of a traumatic brain injury (just as an example) can easily be the difference between life and death.
Beyond those I think you’ll want to hang out with folks who are better and more experienced than you because you’ll see places you need to improve. I’m on a search and rescue team which is great because you get a lot of different disciplines and you’re sent into environments that aren’t really your cup of tea.
Some folks are naturally strong navigators, some are born climbers, and others can look at the clouds and very accurately pick between a gnarly storm and general afternoon squalls. But with a WFR certification and an avalanche class I’d feel a lot more comfortable with you on nearly any trip I’d do.
You can do rock, ice, and glacier travel in any order, or learn any subset of these skills that you wish. They overlap a lot, because they all involve a lot of the same roped climbing skills and anchor building skills.
- First aid training is great, but this is really more of a general life skill. Even if you take a wilderness first aid course, you’re more likely to use the skills when you’re in your home or at work.
- Learn very basic skills at avalanche avoidance. The most basic skill is extremely simple and does not require taking an avalanche course or buying gear. a) Has there been 15 cm (6″) of snow in the last 48 hours? b) Is the slope 30-35 degrees or more (or is the area bare of old-growth trees)? If both of these factors exist, don’t go.
- Build experience with the ice ax, and also with crampons, microspikes, and snowshoes. The ice ax is a fundamental tool of the mountaineer. Practice self-arrest. Get comfortable with snow travel techniques like the plunge step. Learn to move confidently on steep snow, using the appropriate techniques. While you’re gaining this experience, you’ll gain skills in keeping yourself comfortable and happy in a cold environment.
- Learn basic roped climbing techniques. You should know how to put on your harness, half a dozen of the most important knots and their uses, how to flake the rope, and how to provide a hip belay or a belay using a belay device. This could be in the context of rock climbing or snow climbing.
- Learn to lead climb (on rock, snow, or ice), and to build anchors.
One of the most important skills is to make friends with skilled mountaineers and have the social skills to make them want to take you along on their next expedition. While this may sound flippant what it really means is find a club with people you get on with and integrate yourself into it.
Obviously getting some basic competency with sport and outdoor rock climbing is a good first step as this tends to be more accessible and will teach you some of the fundamental safety skills in terms of using ropes and other gear and there will clearly be a lot of social and technical overlap with winter climbing and mountaineering.
- For snow travel learn self-arrest with an ice ax. As far as avalanche safety only climb on glaciers or big snow fields with someone trained and experienced.
- Take a class or get hooked up with some experienced climbers.
- Then learn the skills for the route. Plan the route according to your skills. To the top snow is typically best route. If you like rock then climb rock.
- You can typically avoid rock climbing. Do it because you want to.
- If your objective is to climb ice then start with rock and snow. Ice climbing is high risk.
As a final note, the very first skill I would learn is to keep putting one foot in front of the other. Most of the turn arounds I have seen while mountaineering have been from people not willing to do so. It amazing what can be accomplished simply by keeping on keeping on.
Beyond that it never hurts to be in better physical shape and when starting out as a rock climber the biggest improvements come from getting over the mental hurdles.
Finally, just get out there and do it.
Written by Felix

About me
Hi! I’m Felix. When I’m not spending time out in the mountains, I like to write about my hobbies. That is how Mountain Homies was created. On this site, I try to gather all the juicy information about Mountaineering that I have learned since I started. Happy adventures!
Related Articles
3 Ways to Spot and Reveal a Crevasse (And Avoid It)
So, how do you spot a crevasse and – more importantly – avoid falling into one? In this article, I will have a look at what crevasses are and how to detect them…
5 Ways of Knowing If Your Climbing Shoes Are Too Big
It has almost become a prestige among climbers to be able to boast about how small and tight climbing shoes can be used. There is therefore a lot of talk…
3 Clever Ways of Crossing A Crevasse
When you’re mountaineering in snow country, you will undoubtedly encounter some crevasses. These are scary, since you don’t always spot them…
Stay Up to Date With The Latest News & Updates
Join Our Newsletter
The owner of this site is a participant in the Amazon Services LLC Associates Program, an affiliate advertising program designed to provide a means for sites to earn advertising fees by advertising and linking to amazon.com.

