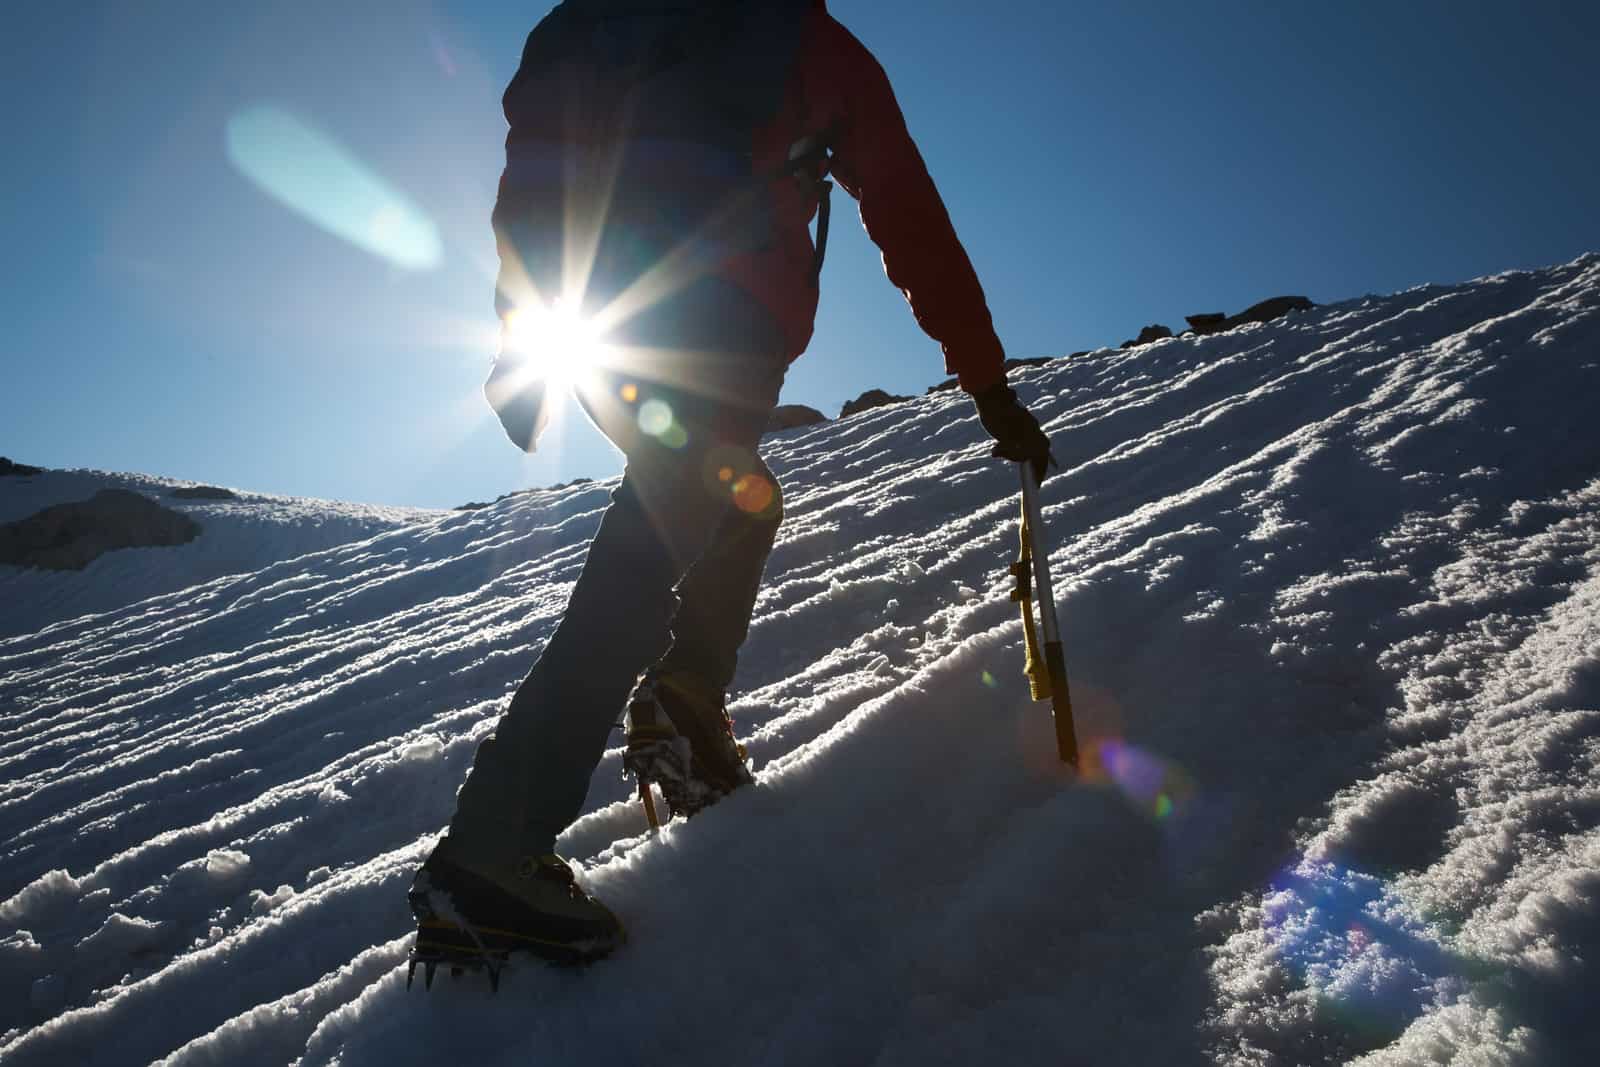
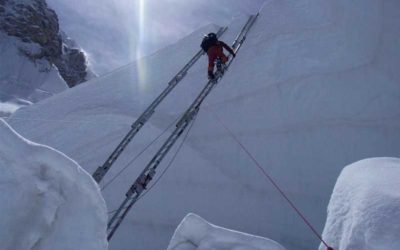
When mountaineering at high altitudes or in colder climates, you will definitely encounter ice and snow. In this case, crampons are your best friend, digging into the ice and keeping you from sliding down the slope. You probably won’t use crampons for the entire trek though, since you’re likely to do some hiking on rocks, grass and gravel too, where it’s best to use normal hiking boots.
So, how do you pack your crampons in such a way that they won’t damage your pack or other gear, or worse, cut into you or another member of your crew?
In this article, I will explore the main principles to keep in mind when carrying crampons and various ways of carrying and attaching crampons to your pack safely and efficiently.
Not long ago I also wrote an article about sharpness and filing of crampons. If you are new to crampons I suggest you check that out as well. You can find my article here.
The Basics
Crampons have sharp, jagged edges. These edges are necessary for your safety while climbing an icy slope, but could spell disaster if you don’t pack them correctly. Crampons can cut into your backpack, gear and food supply, causing major damage which you definitely don’t want to deal with halfway up a mountain in sub-zero conditions. They can also cut into your skin, leaving a gaping wound to put a serious damper on your awesome trip.
If you don’t tie your crampons securely, you could also end up losing them, which would seriously suck.
How To Attach Crampons To a Backpack
When attaching crampons to your pack, keep the following in mind:
- Sharp edges out of harm’s way. Place your crampons together with the bottoms facing each other, so that the sharp edges are sandwiched where they’re not likely to touch anything.
- Always double tie. Add redundancy when you’re tying your crampons to your pack. That way, if one set of straps or ties fail, you have another set keeping your precious gear safe.
- Reduce bulk. Use the straps of your crampons to squeeze them a bit flatter. This slight reduction in bulk will help them take up less space in or on your pack, streamlining things for easy hiking. A trim pack has a center of gravity closer to your core muscles, which is then more ergonomic to carry. In short, your muscles don’t have to work so hard to stabilize you and your pack, so you’ll use energy more efficiently.
Carrying Crampons: Inside or Outside Your Pack
There are two schools of thought when it comes to carrying crampons: those who say outside is best, and those who prefer packing crampons inside the bag.
When packing your crampons inside the bag, they definitely have to be near the top. When stopping to put on your crampons, you want them within easy reach and you don’t want to unpack and repack everything in order to get to them. You also don’t want to meet the sharp end of your crampons down inside the bag where you can’t see what’s going on.
The “inside” school of thought says that placing your crampons on the outside of your bag increases the risk of them getting snagged on things as you hike, getting lost and ending up cutting you or your crew.
The “outside” school of thought is of the opinion that packing your crampons inside the bag increases the risk of it damaging your other gear, since it’s squished up right next to it. When taking off your crampons, they’ll be wet and dirty, so placing them inside your pack will get your dry clothes and food all wet.
Since there are valid arguments for both of these schools of thought, you will have to decide this one for yourself. It will depend on your personal preferences, your backpack and your packing skills. I have tried both and both ways definitely work.
Crampons Carrying Case
Many trusted mountaineering brands make specialized cased, pouches or bags for carrying crampons. These protect your crampons and allow for easy attaching to your pack, since they usually have loops, hooks or carabiners specially designed for the purpose.
I use a really lightweight but simple crampon case that has remained very durable over the years. You can find it on Amazon by clicking here.
These cases could add some bulk and weight to your pack, though, so you’ll have to weigh this up against the ease of handling when deciding which option to choose.
It’s also possible to improvise and make your own carrying pouch from old juice bottles, a cut-off denim pant leg or even an old towel.
Otherwise, you can simply forgo the pouch and sandwich your crampons together with the sharp ends facing inwards.
Type Of Backpack
The type of backpack you use would have the greatest effect on how you attach your crampons and other gear to the pack.
Some packs have specialized pouches, hoop and loops for specific gear, while other have an assortment of straps that you can use for basically anything.
Figuring out your backpack, your needs and which arrangement works for you is something you should preferably do before setting off on a long trek. Do this by going for day hikes or shorter hikes with a full pack, adjusting things as you go.
There are many backpacks out there that work fine with crampons, so I have used a few different ones over the years. Today my go-to backpack is 70 Liters, and you can find one similar to the one I use on Amazon by clicking here.
Side Compression Straps
These are straps that run on the outside of your pack, allowing you to squeeze the pack to be less bulky. Most people use these straps to carry extra equipment, though. After pairing up your crampons with the sharp ends facing each other and strapping them to be less bulky, place them on the outside of your pack and strap them in. Pull the straps nice and tight. If your pack has extra loops for securing gear, loop the straps through these so your crampons can’t move around when you jostle your pack.
Your pack is likely to have extra straps and elastics or bungee cord on the outside. Use some of these as a failsafe to keep your crampons secure, just in case your side straps fail you.
Shovel Pockets
Shovel pockets are similar to the mesh pockets meant for water bottles that you usually find on the side of backpacks. They’re a lot tougher, though, and are meant for storing bulky gear with pointy teeth, like avalanche shovels, snowshoes and crampons.
If your pack has one of these, package your crampons correctly with the pointy bits facing each other and tie them together securely. Now, simply stuff them into the shovel pocket and secure the straps to keep them from falling out.

Daisy Chains
These little loops are sown onto your pack – you use them to tie stuff to your pack with carabiners or webbing straps. If you choose to use these to tie your crampons to your pack, make sure that your crampons are secure, since swinging crampons could compromise your balance and it generally increases the risk of losing your gear and getting hurt.
Tie Out Loops
While tie out loops have more or less the same function as daisy chains, they weigh less, so there’s often more of them attached to a pack. You can use these to attach bungee cords to your pack to keep your crampons and other gear safely in place.
Conclusion
There are many different options for carrying crampons with you. Whether you choose inside or outside your pack, always make sure that you package your crampons safely and tie them securely.
If you are getting new mountaineering boots and are unsure about the compatibility with crampons, I have written an article about how to choose the ultimate mountaineering boots with crampons in mind. You can find my article here. Happy adventures!

Written by Felix
About me
Hi! I’m Felix. When I’m not spending time out in the mountains, I like to write about my hobbies. That is how Mountain Homies was created. On this site, I try to gather all the juicy information about Mountaineering that I have learned since I started. Happy adventures!
Related Articles

3 Ways to Spot and Reveal a Crevasse (And Avoid It)
So, how do you spot a crevasse and – more importantly – avoid falling into one? In this article, I will have a look at what crevasses are and how to detect them…
5 Ways of Knowing If Your Climbing Shoes Are Too Big
It has almost become a prestige among climbers to be able to boast about how small and tight climbing shoes can be used. There is therefore a lot of talk…
3 Clever Ways of Crossing A Crevasse
When you’re mountaineering in snow country, you will undoubtedly encounter some crevasses. These are scary, since you don’t always spot them…
